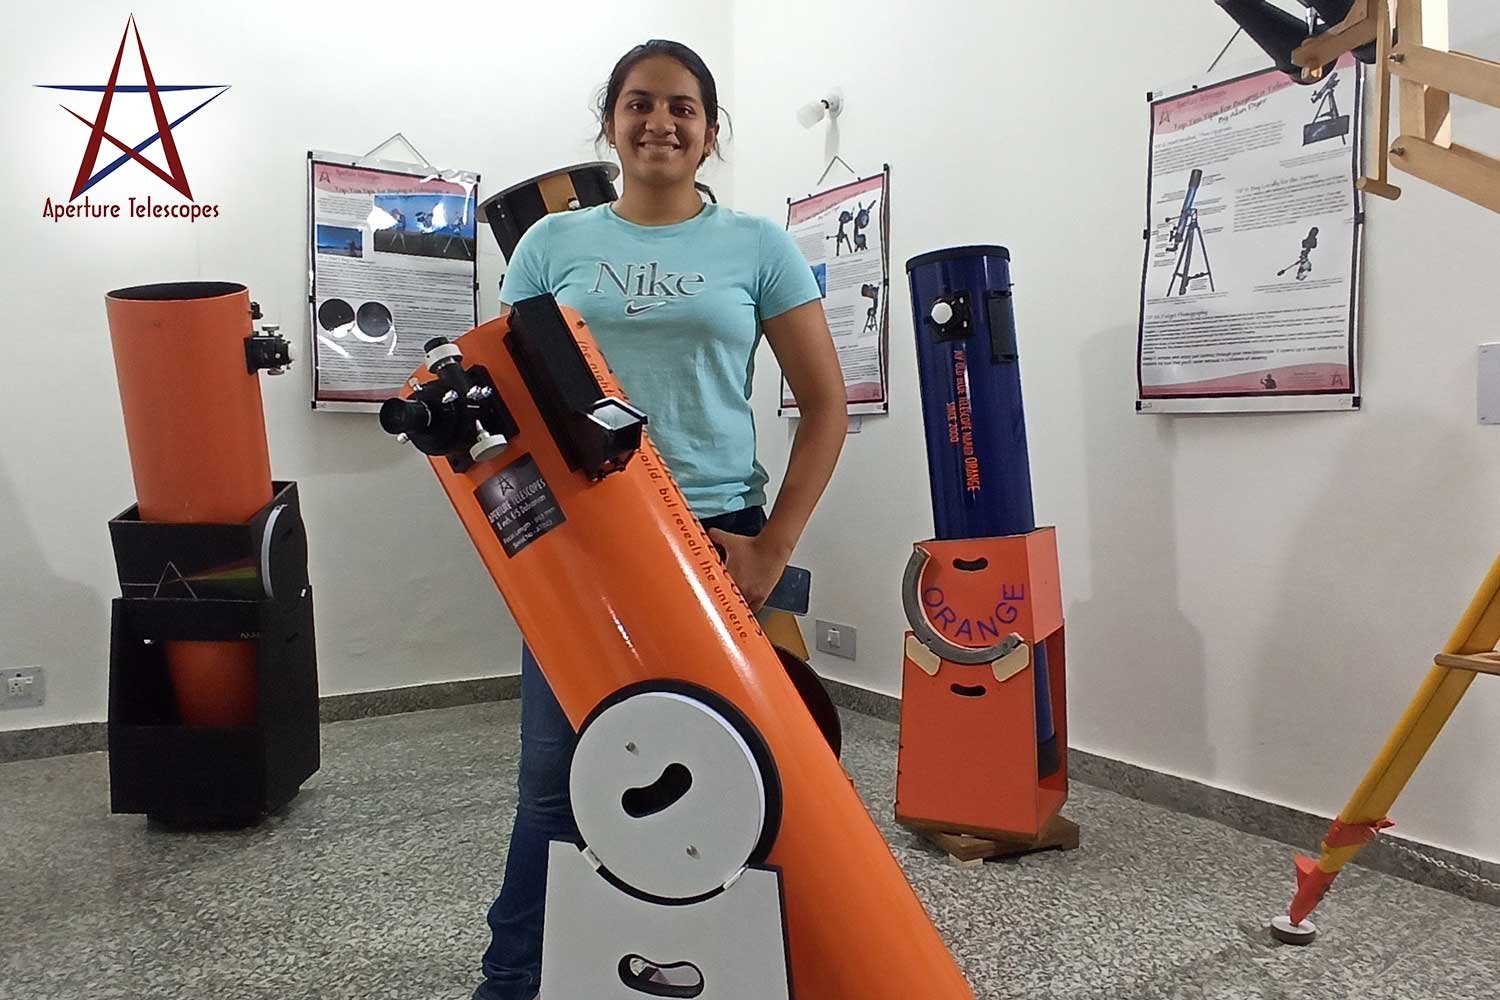
This is a story about Surya, a student of class 12th, who approached us a couple of months back with a sparkle in her eyes and an innocent question… can I learn to build a telescope for the Masses.
We at Aperture Telescopes were already in the profession of building telescopes, however, this was the first time, a young girl had approached us with a clear intention to build a telescope which can be used for masses and to learn to produce a telescope whose cost she could control and reduce, so that the under privileged children could aspire to have one of their own.
We did some brain storming and decided to make an 8-inch Dobsonian Telescope, with a focal ratio of f/5. The main consideration of choosing these specifications was that the telescope would be portable, and will be able to carry the telescope to dark skies in the hills. A focal ratio of f/5 telescope would provide relatively brighter images of faint celestial objects.
Another consideration was to conduct community observations with this telescope within a locality and especially among the under privileged children. A Dobsonian Telescope is quite easy to setup and use. Anyone can use it without much training.
She completed her Dobsonian at our Astro Facility of Aperture Telescopes under my guidance.
Ajay Talwar
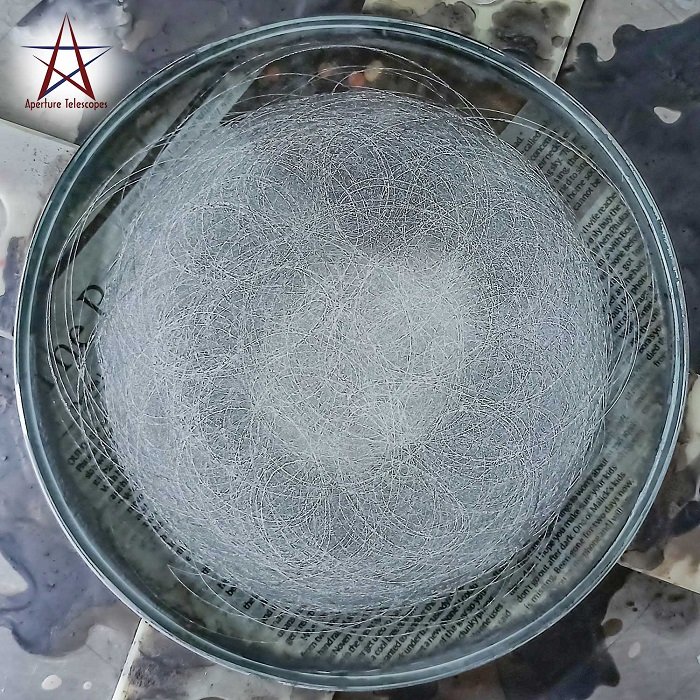
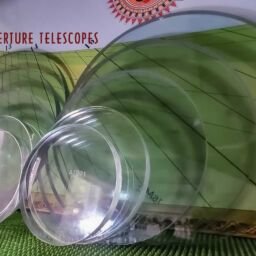
The FIRST STAGE of the project was to start grinding the primary mirror. She started off with a 200 mm, circular glass blank which was 25 mm thick. This stage is called ‘Hogging‘. The purpose of hogging is to create a depression on one side of the glass blank. The depression is a curve, deepest in the centre and curving up towards the periphery of the glass blank. The amount of the depression at the very centre is called ‘Sagitta‘ and is measured in millimetres.
In this case a focal length of 1000 mm meant that the sagitta needed to be 2.426 mm.
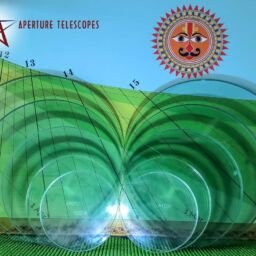
Hogging started off on the grinding machine using a diamond wheel. In this photograph the grinding is seen as rough circular lines. The grinding has progressed to about 150 mm diameter, while the full diameter of the blank is 200 mm.
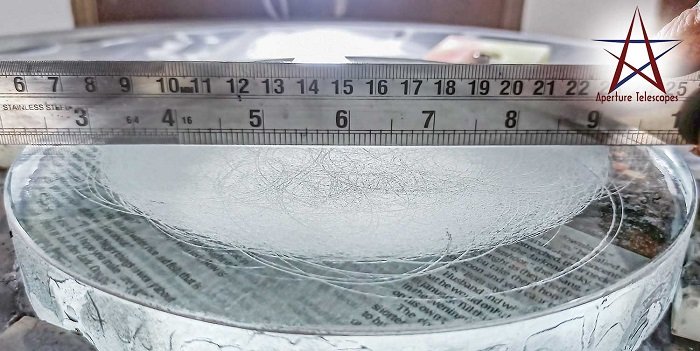
To measure the sagitta, you need to lay a straight edge passing over the centre of the glass blank.
In this photograph you can see that the ground portion of the blank is depressed, after about 30 minutes of hogging.
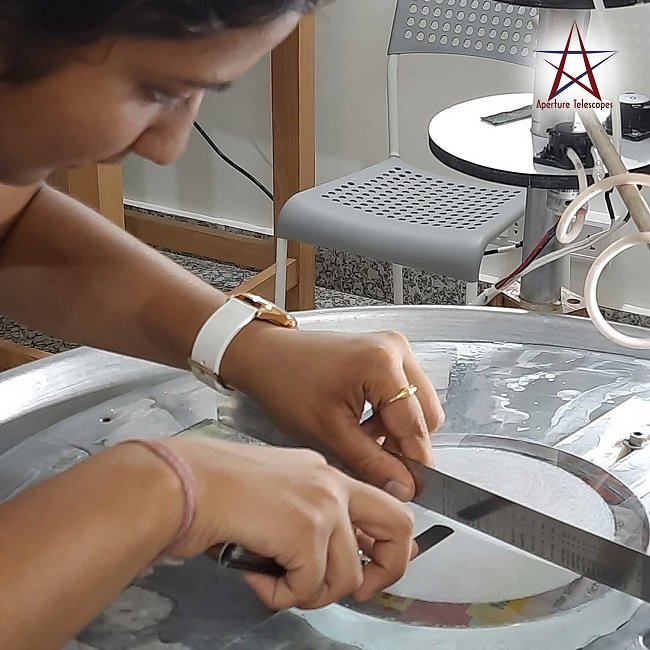
As you keep on hogging further, the sagitta deepens. The sagitta must be measured at frequent intervals so that is does not overshoot.
A Feeler Gauge is a tool used for measuring gap widths between two objects that are close together, where a caliper or tape measure would not be able to fit.
A Feeler gauge tool itself consists steel blades of various thicknesses, and thickness marked on each of the blade. A combination of blades can be used and the total of all the bladed would be the sagitta achieved.
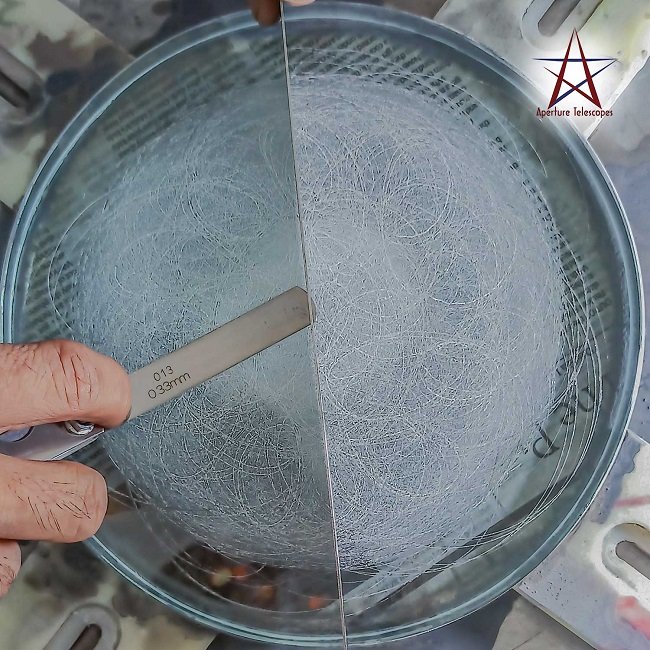
When measuring the sagitta, the steel scale must be placed over the centre of the glass blank, and held tightly over the blank, when inserting various thicknesses of the feeler gauge.
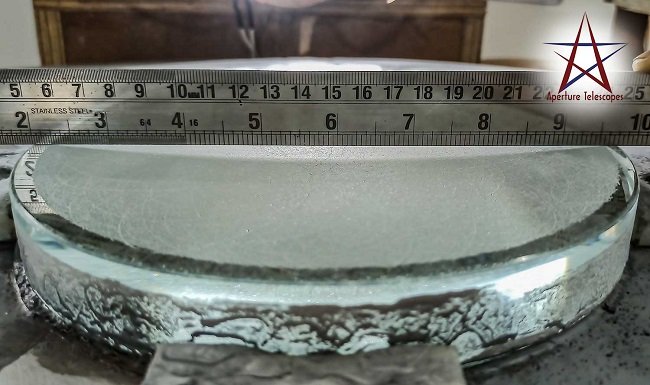
In this photograph you can see that the ground portion has increased towards the edge of the blank, and that the ground portion is in the form of a curve, although not precisely spherical.
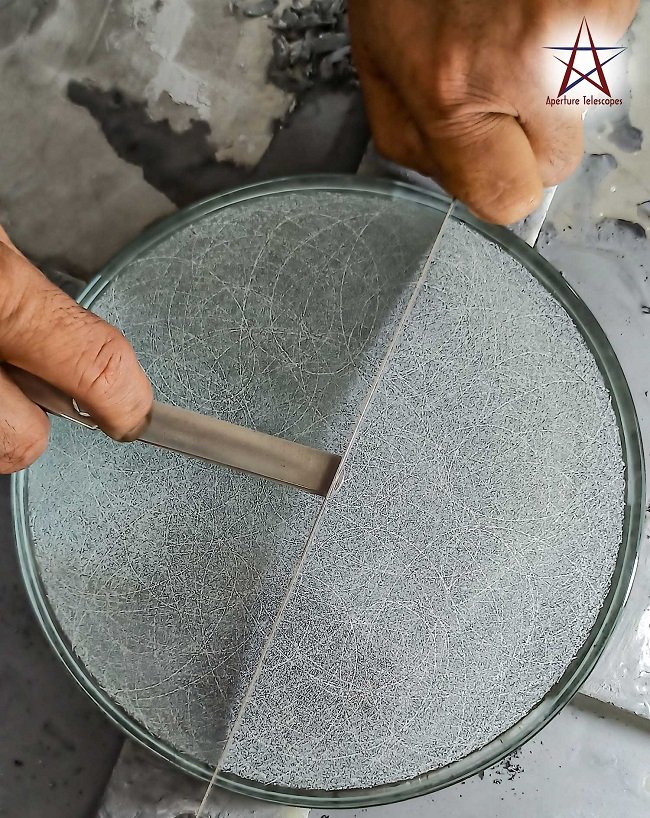
Ground portion of the blank has reached the almost till the periphery. The required sagitta reached to about 90% of required. Now we can proceed to the second stage.
The SECOND STAGE of making the mirror is to make the curve exactly spherical and progressively smoothen the surface with smaller and smaller grit sizes.
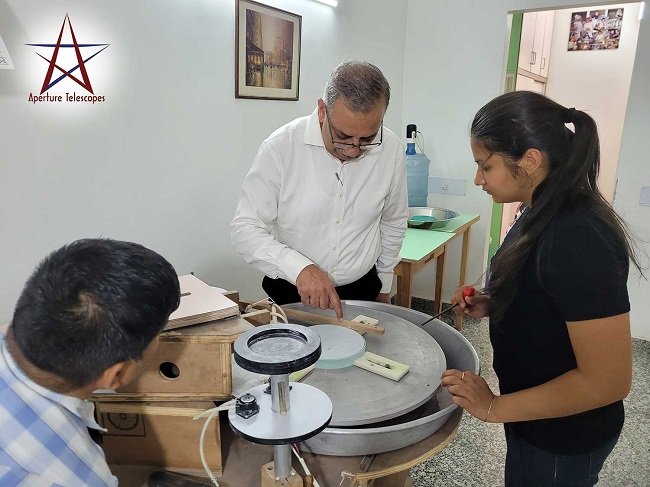
She worked on a Mirror Grinding/Polishing machine which was quick, convenient and accurate.
Smoothing the surface of the mirror requires progressively finer grit – Emery #100, Emery #220, Aluminium Oxide – M302, M303 & finally M304.
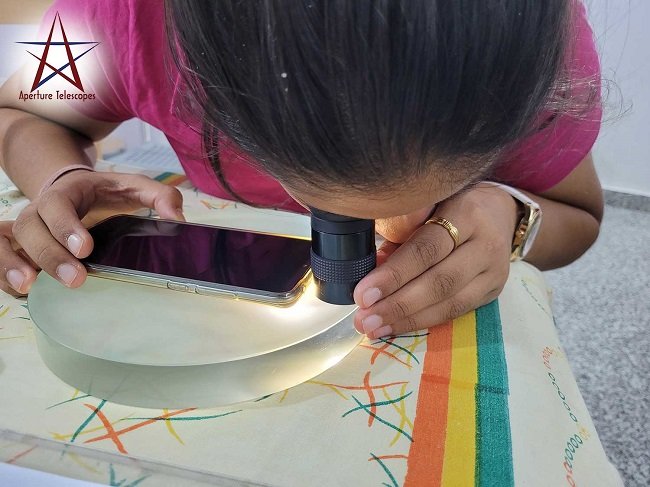
She kept a watch over the 1) Sagitta measurement, 2) checking if the mirror is spherical at each stage, 3) no scratches, 4) Pits from the previous grit eliminated before proceeding with the next grit size.
In this photograph, she was checking the surface of the mirror using an eyepiece, and bright light from the cell phone torch, kept next to the eyepiece.
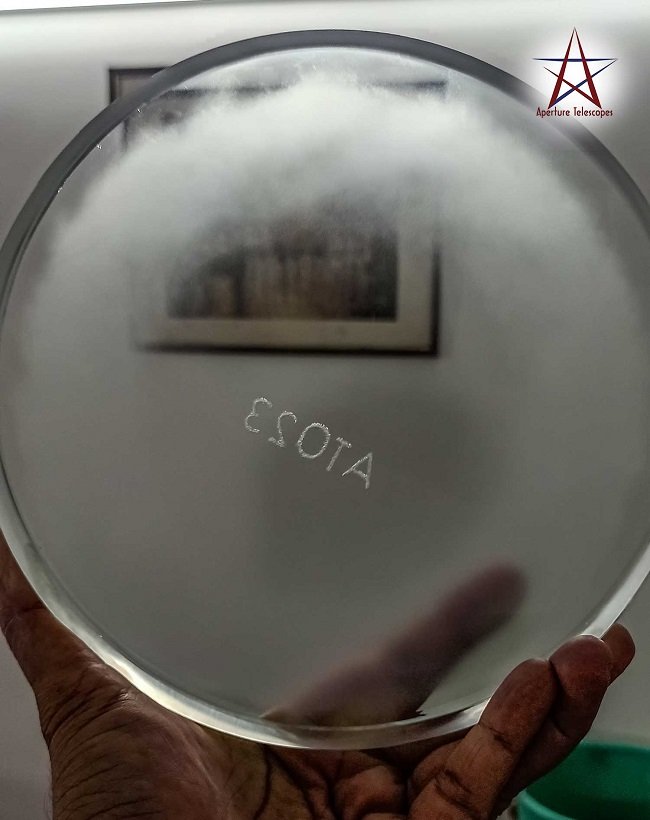
The THIRD STAGE of the mirror making is ‘Polishing‘. Polishing was done using a tool made from an aluminium circular disk poured over with a synthetic polymer called ‘Acculap’. Her mirror making was in summer months, and so the ‘Very Firm Hardness’ Acculap was used.
This photograph was shot after about 30 minutes of polishing. You can see that the centre portion of the mirror as well as the outermost portion has cleared up, but the middle portion is still milky, because of the pits left over from the M304 fine grit.
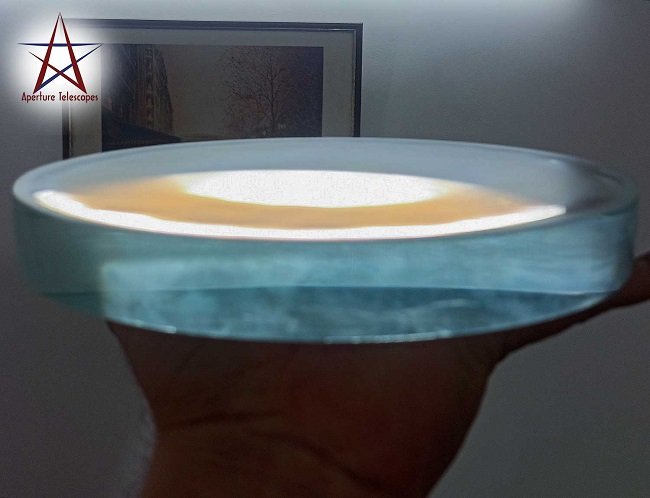
Polishing progressing, and you can see the reflection of a tube light in the mirror, except where it is still milky (yellow area).
This is how the mirror’s surface progressed during polishing, and finally during parabolisation.
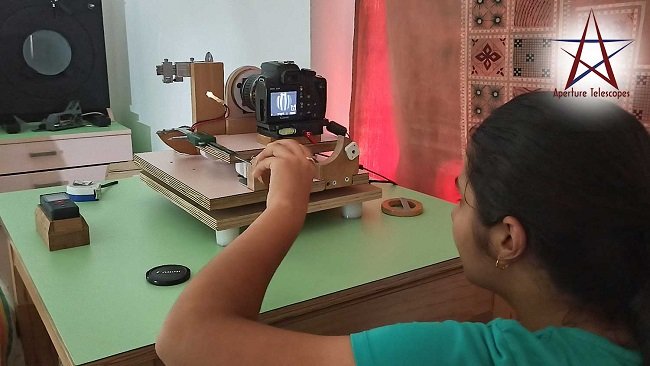
The FOURTH STAGE of making the mirror is ‘Parabolising‘ it. Newtonian telescopes need a parabolic surface to bring star light into a sharp focus. If the mirror is not parabolised, then there will be spherical aberrations and stars never be sharp and focused.
Parabolising the mirror requires that the centre of the mirror should be deepened from a sphere. In this photograph I was testing the mirror on an apparatus called ‘Foucault Tester‘. At the moment, in this photo, there was a Ronchi grating installed, showing the parabolic figure on the camera screen.
After parabolising the mirror was sent for aluminising, which is done by evaporating aluminium inside a vacuum chamber.
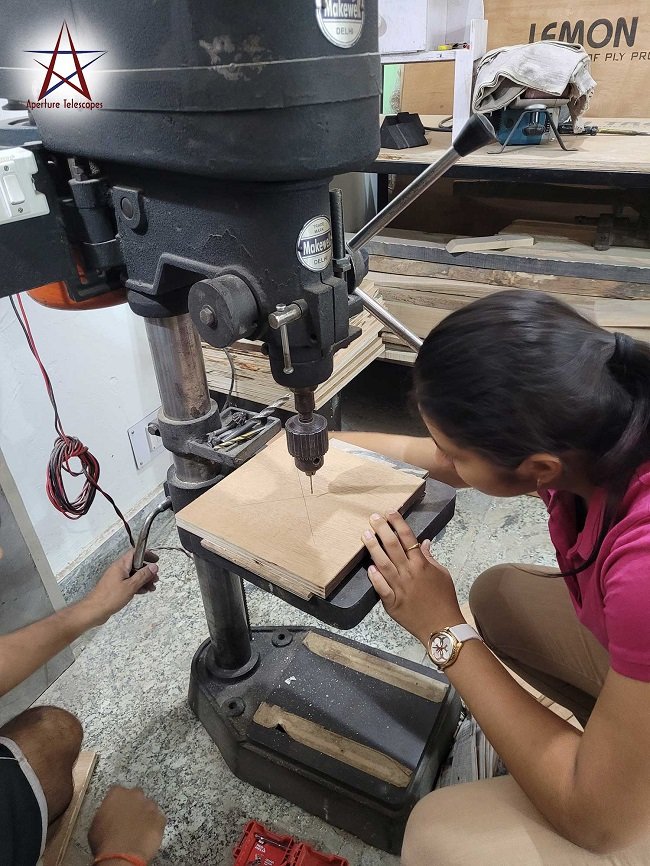
Working on the Dobsonian Mount.
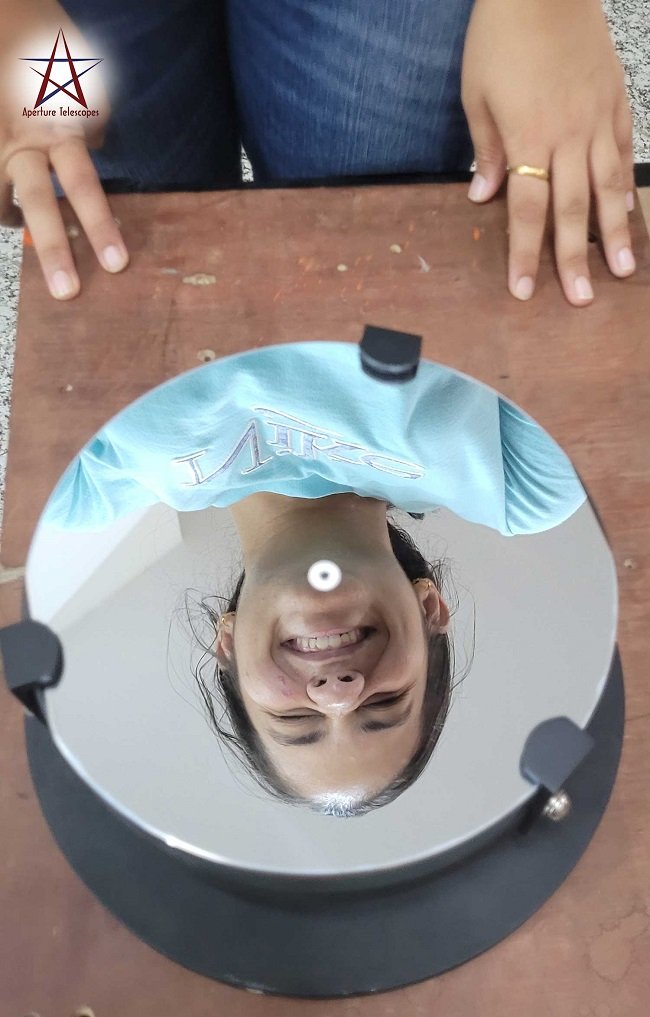
The Mirror arrived from the aluminising lab, and Surya was very happy to see it.
Centre of the mirror was marked with a small circular sticker, which is an aid for collimation.
It was time to assemble the optical tube.
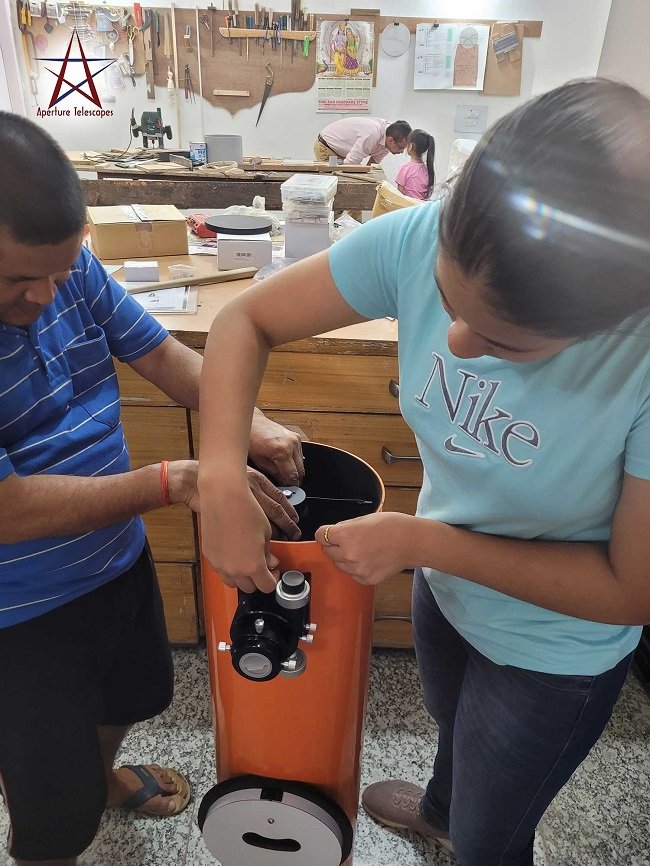
The Optical parts of the telescope, viz. 1) the Primary Mirror, 2) Secondary Mirror (diagonal), 3) Eyepiece.
The optical holders, viz. 1) Mirror Cell, 2) Diagonal Holder, 3) Focuser.
The entire assembly inside the ‘Optical Tube Assembly’ or the OTA.
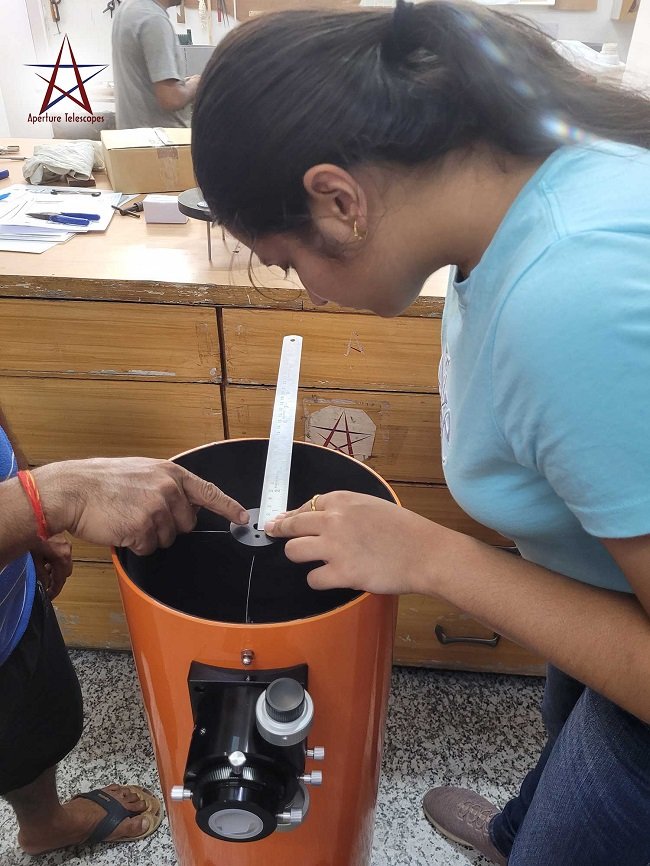
All parts must be measured accurately and placed correctly. A perfect collimated telescope shows no aberrations, and stars are sharp and circular.
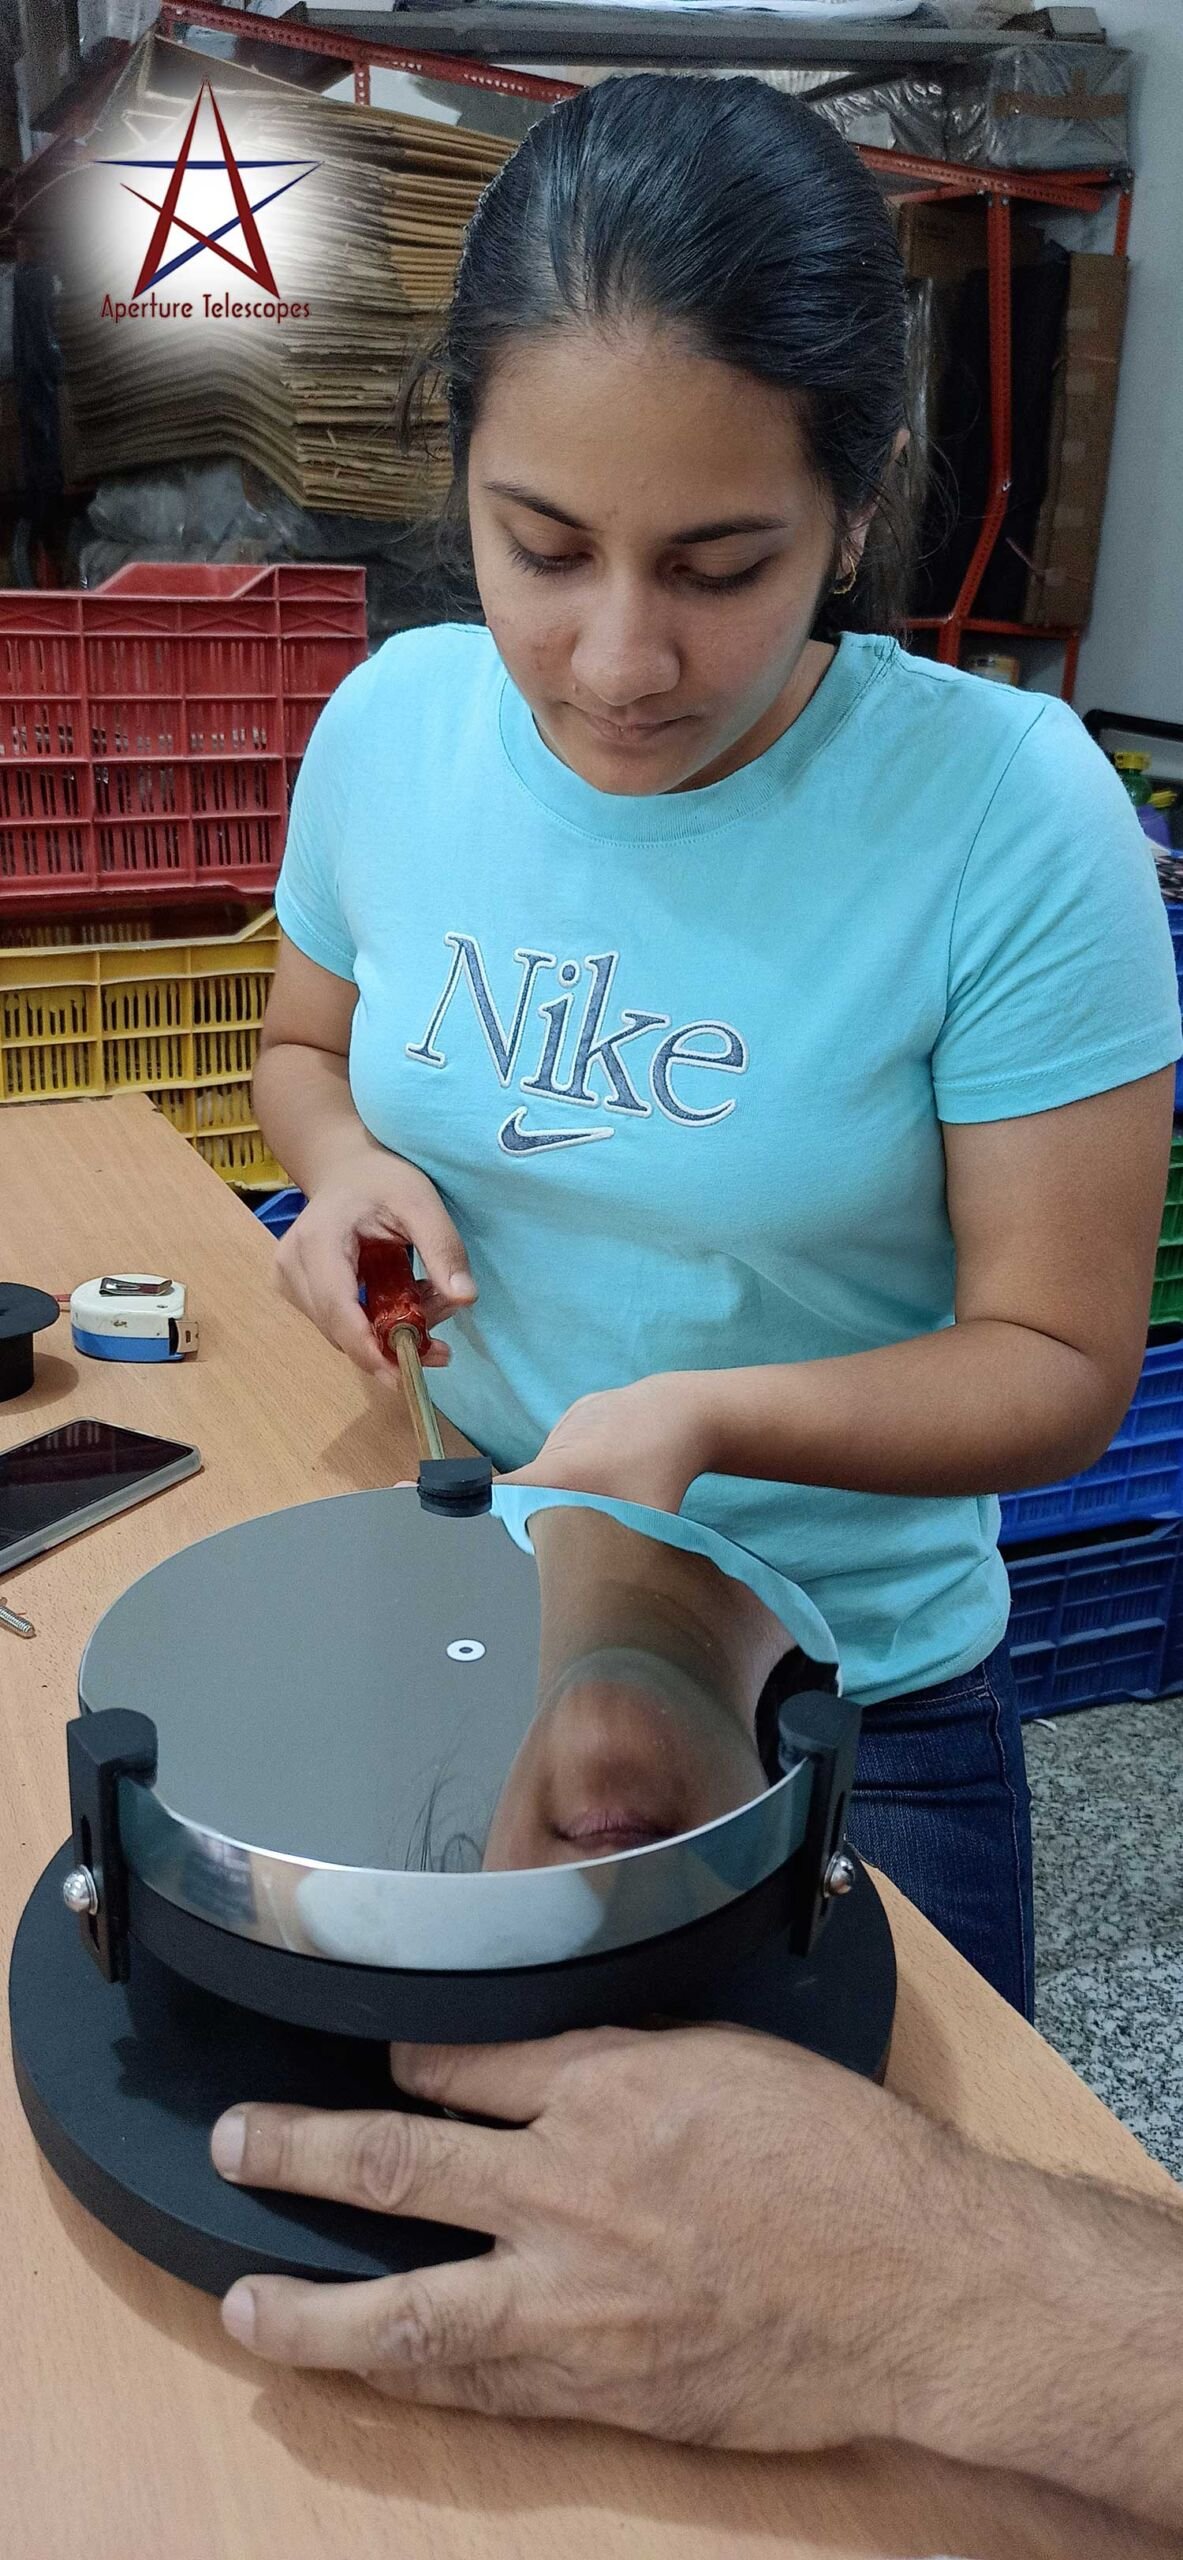
The Primary Mirror goes in last.
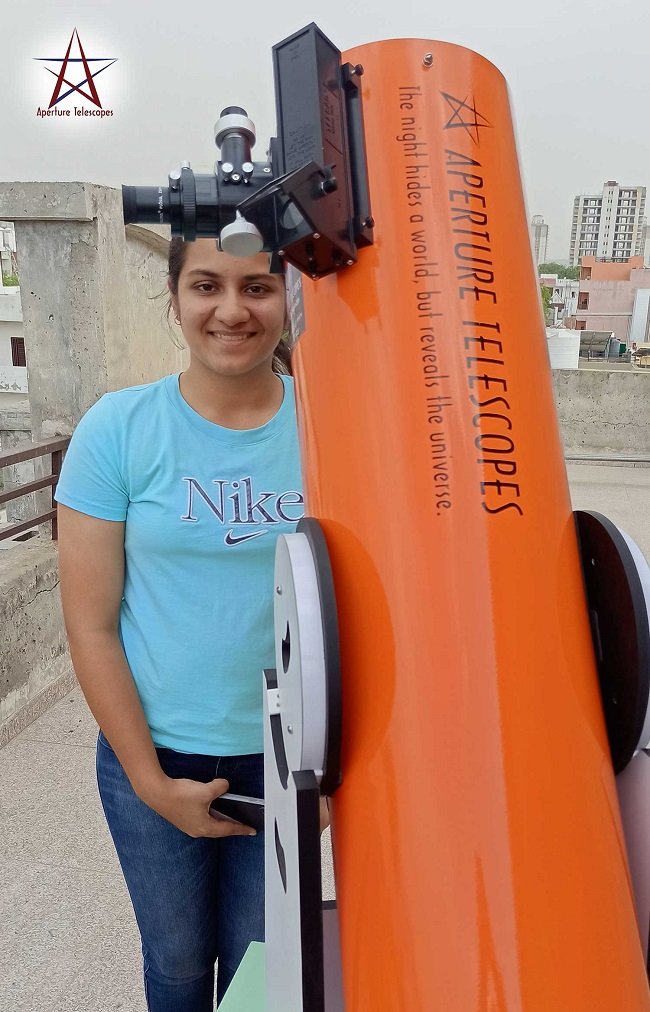
Entire optical and mechanical parts of the telescope assembled.
Now to check if the telescope comes to focus. From the terrace there is a temple visible which is about 3 kilometres away.
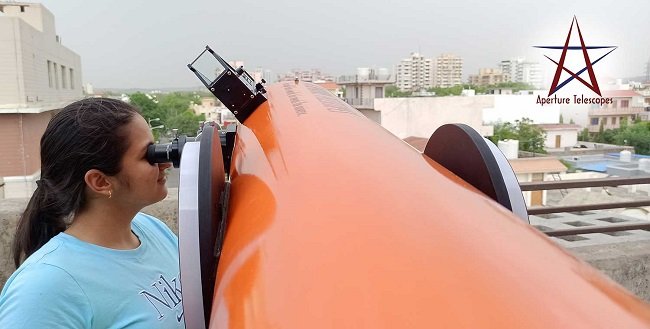
Yes, it focuses perfectly!
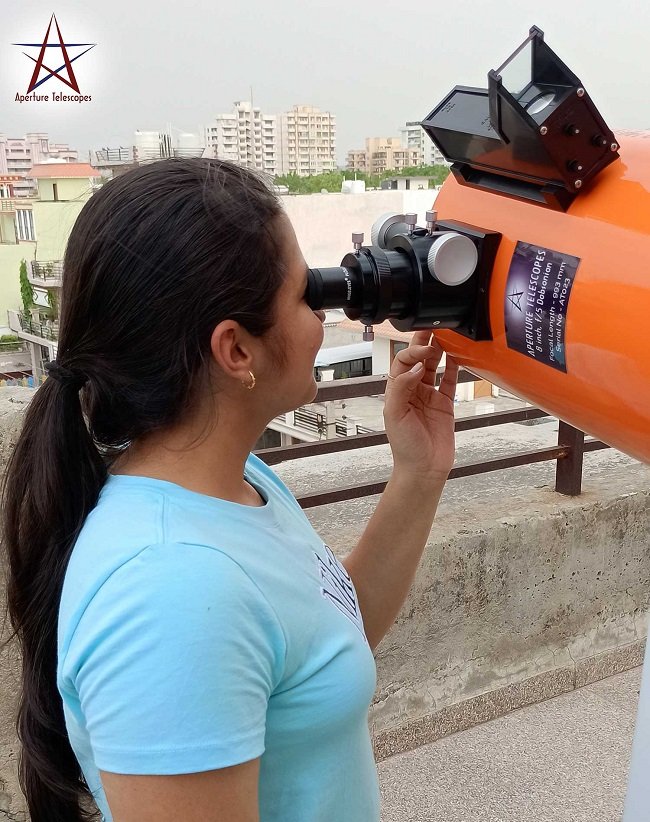
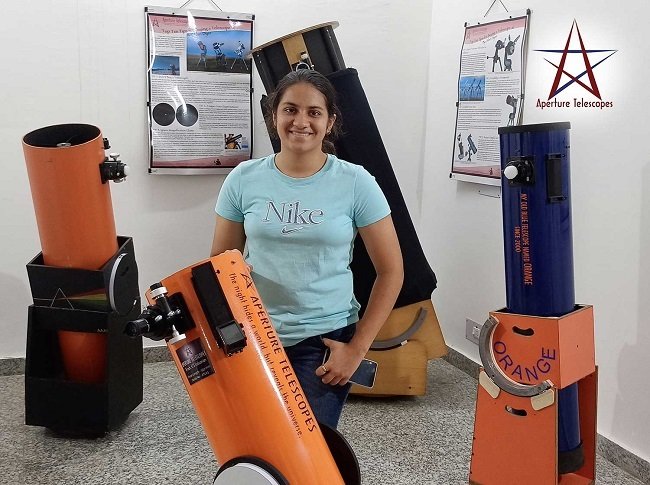
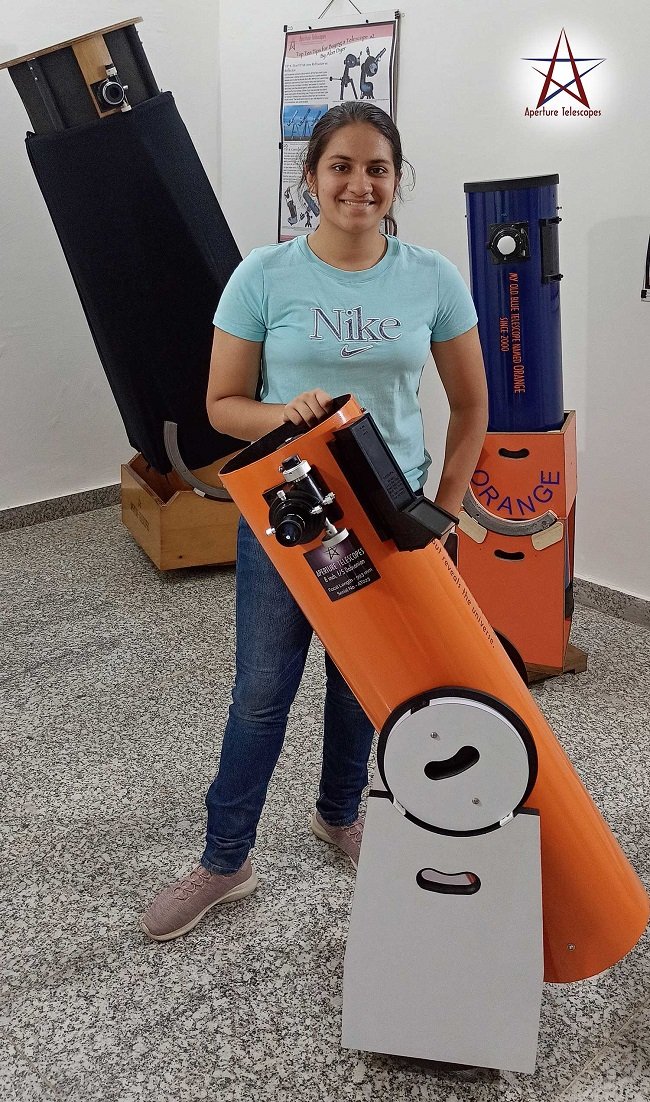
Surya is a Happy Telescope Maker!
Now to take this telescope out in the night, see stars, planets, the Moon, as well as share the views in my community.
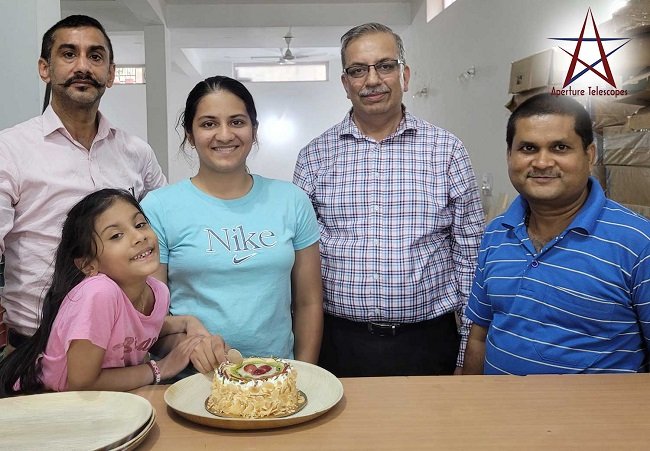
This certainly calls for a celebration, and a cake.



I am eager to know about telescope making.
Thank you for your motivation
How I become part of such a workshop
I am eager to know about telescope making.
Thank you for your motivation
How I become part of such a workshop